
How to Fix a Leaking Ball Valve: A Step-by-Step Troubleshooting Guide
Picture this: It’s a quiet Saturday morning. You’re sipping coffee. Then you notice a slow drip from the pipe under your sink. That faint plink-plink against the bucket tells you it’s a ball valve acting up again. Ball valves are workhorses in plumbing systems. They’re simple. They’re reliable. They handle quarter-turn shutoffs that control flow in everything from household water lines to industrial setups. But when they start leaking, it can turn a minor annoyance into a soggy mess. Or it can lead to a costly repair bill. The good news? Most leaks are fixable. You just need basic tools and a bit of patience. In this guide, we’ll walk you through spotting the problem. We’ll troubleshoot step by step. And we’ll get things sealed up tight. Whether you’re a homeowner tackling a weekend project or a facility manager keeping operations smooth, these steps will save you time. They’ll also cut headaches.
Understanding Ball Valves: The Basics Before You Dive In
At its core, a ball valve uses a perforated ball inside the valve body to start or stop flow. Turn the handle 90 degrees. The ball aligns with the pipe for full flow. Twist it perpendicular. It blocks everything off. These valves shine in quick-shutoff scenarios. For example, they isolate a leaky faucet. Or they manage steam in a boiler room. But they’re not invincible.
Leaks happen for a reason. And knowing why helps you fix them right the first time. Over the years, I’ve seen plumbers and engineers deal with thousands of these. It’s enough to spot patterns. Worn-out seats and seals top the list. This is especially true in older installs. There, mineral buildup from hard water chews away at the rubber or PTFE components. Debris from rusty pipes can score the ball. That creates gaps. And don’t get me started on overtightened handles. That compresses the packing too much. It leads to cracks over time.
Here’s a quick breakdown of the most common culprits:
-
Worn Seats or Seals: The soft rings that hug the ball erode from constant use. In high-pressure lines, this shows up fast. Think 500 psi systems. There, a tiny wear spot lets water whistle through.
-
Damaged Stem Packing: The gland around the stem loosens. Or it dries out. That allows seepage along the handle. I’ve pulled apart valves where 10 years of neglect turned the packing into brittle crumbs.
-
Corrosion or Debris: In corrosive environments like coastal setups, metal bodies pit and fail. Sediment clogs the cavity. It prevents a clean seal.
-
Improper Installation: Threads stripped during fitting create uneven pressure points. Or flanges misaligned do the same.
Spot these early. You’re halfway to a dry system. Industry stats back it up. The EPA estimates household leaks waste about 10,000 gallons of water per home annually. Much of it comes from faulty valves like these.
Spotting the Leak: Where and How to Check
Before you grab a wrench, play detective. Not all leaks look the same. And misdiagnosing can lead to unnecessary disassembly. Walk around your setup with a flashlight and dry paper towels. Wipe potential spots. Then watch for fresh moisture.
Ball valves leak in three main ways:
| Leak Type | Description | Common Signs | Quick Test |
|---|---|---|---|
| Stem Leak | Drips along the handle shaft from loose or worn packing. | Wetness around the stem nut; worsens when valve is partially open. | Tighten the packing nut a quarter-turn clockwise (don’t overdo it—max 1/8 inch). |
| Seat Leak | Flow through the valve even when closed, often a steady stream. | Gurgling noise or visible spray from ends; pressure drops downstream. | Pressurize the line and listen for hisses at the ports. |
| Body Leak | Seepage at joints or the body itself, rare but serious. | Puddles under the valve; corrosion stains on the housing. | Feel for dampness at flanges or threads after shutdown. |
If it’s a stem leak, you might get away with just repacking. No full teardown needed. But seat issues? That’s deeper work. In one case I recall from a Midwest manufacturing plant, a overlooked body leak flooded a subfloor. It cost $5,000 in water damage. Moral: Check thoroughly.
Gathering Your Tools: What You’ll Need for the Job
No fancy gadgets required. But having the right kit speeds things up. It also cuts frustration. Lay everything out on a drop cloth. That way, you avoid losing tiny O-rings in the grass. (Ask me how I know.) For a standard 1/2-inch to 2-inch ball valve, here’s your essentials:
-
Basics: Adjustable wrench, pipe wrench, and channel locks for grip without marring finishes.
-
Disassembly Aids: Allen wrench set for set screws; flathead screwdriver for prying seals.
-
Cleaning Supplies: Wire brush, emery cloth, and pipe cleaner for scrubbing buildup. Isopropyl alcohol wipes the residue without gumming up new parts.
-
Replacement Parts: New stem packing (graphite or PTFE, sized to your valve), seat inserts if damaged. Pro tip: Match the material—RPTFE for general use, Devlon for high-temp lines.
-
Safety Gear: Gloves, safety glasses, and earplugs if it’s a noisy industrial spot.
-
Testing Tools: Bucket for draining, pressure gauge to verify post-fix.
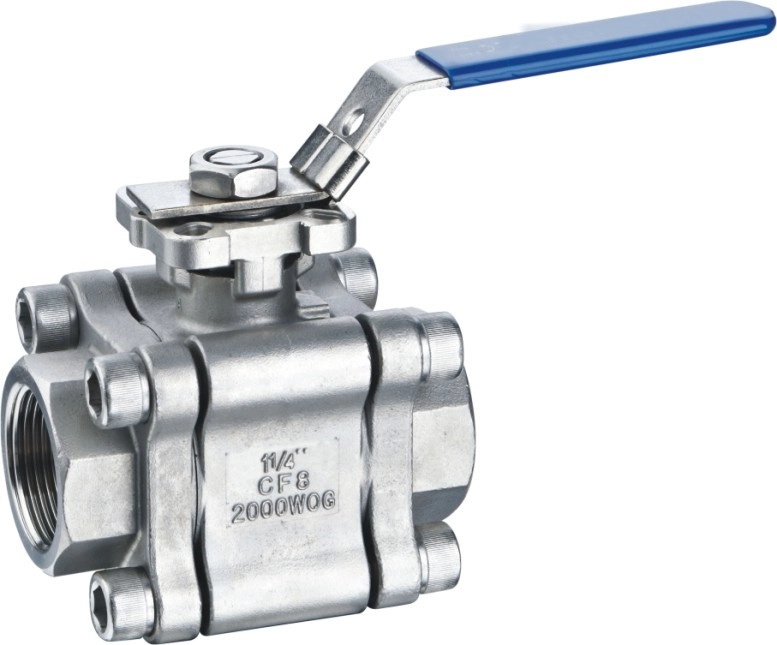
Budget $20-50 for parts at a hardware store. If your valve’s a three-piece design—like those bolted setups common in process lines—you’ll appreciate how it splits open. It does so without yanking the whole thing from the pipe.
Step-by-Step: Troubleshooting and Fixing Your Leaking Ball Valve
Alright, sleeves up. We’ll assume a residential or light industrial floating ball valve. But these steps adapt to trunnion-mounted heavies too. Always prioritize safety. Shut off upstream supply. And lock out/tag out in pro settings. Work in a well-ventilated area. Do this especially with solvents.
Step 1: Isolate and Drain the System
Start by closing the valve fully. Handle perpendicular to the pipe. Then, shut the main supply valve upstream. Open downstream faucets to bleed pressure. Attach a hose to the lowest drain point if it’s a big line. In a real-world example from a Texas oilfield crew I worked with, skipping this flooded the trench. Lesson learned. Let it sit 10-15 minutes. Gravity does the rest. Expect 5-20 gallons in a household loop.
Step 2: Disassemble the Valve
For a two-piece valve, loosen the union nuts at both ends. On three-piece models, remove the body bolts evenly. Use a star pattern to avoid warping. Pull the end caps off. Then slide out the ball and stem assembly. Note the orientation. A quick photo helps reassembly. If it’s threaded, use tape on the wrench jaws. That protects finishes. Stuck? A penetrating oil soak for 30 minutes loosens corrosion without force.
Step 3: Inspect and Clean Components
Lay parts on a clean bench. Shine a light inside. Look for gouges on the ball. Even a 0.01-inch scratch kills the seal. Or check for pitted seats. Debris? Brush it out gently. Harsh scraping embeds grit. For the stem, check packing for cracks. If it’s graphite, it crumbles easily after five years. Clean with alcohol. Dry thoroughly. Data point: Studies from the Valve Manufacturers Association show 70% of leaks trace to uncleaned cavities.
Step 4: Replace Worn Parts
Swap out suspects. New seats drop in with a light tap. Lubricate with silicone grease for easy seating. For packing, wrap the stem with two layers of graphite tape. Cut at 45 degrees for overlap. In high-vibe apps, add a pressure-energized ring. It auto-tightens under load. Source parts from reputable suppliers. Mismatched sizes lead to repeats.
Step 5: Reassemble and Torque Properly
Reverse the teardown. Insert ball first. Align seats. Then caps. Torque bolts to spec. Say, 20 ft-lbs for 1-inch flanges. That ensures even compression. Hand-tighten the stem nut. Then a quarter-turn more. Overdo it, and you crush the seals. Undertighten, and leaks persist.
Step 6: Test for Leaks
Reconnect. Slowly repressurize to half rating. For example, 50 psi on a 100 WOG valve. Check joints with soapy water. Bubbles mean trouble. Run full flow. Then shut off and monitor for 30 minutes. No drips? You’re golden. If it fails, repeat inspection. 90% fix on retry.
This process takes 1-2 hours for DIYers. Less for pros. In buried services, like irrigation lines, add a bleed valve. It makes drains safer.
Keeping Leaks at Bay: Prevention Strategies That Stick
Fixing is reactive. Preventing is smart money. Schedule quarterly checks. Cycle the valve 10 times. Feel for gritty turns. In hard-water areas, install inline filters. They cut sediment by 80%. Lubricate stems annually with food-grade grease. For critical installs, opt for designs with blowout-proof stems. And use double body seals. They hold up in fires per API 607 standards. One facility I consulted swapped to these. It slashed downtime by 40%. Train your team too. A five-minute demo beats emergency calls.
Why Choose Miwival for Your Ball Valve Needs
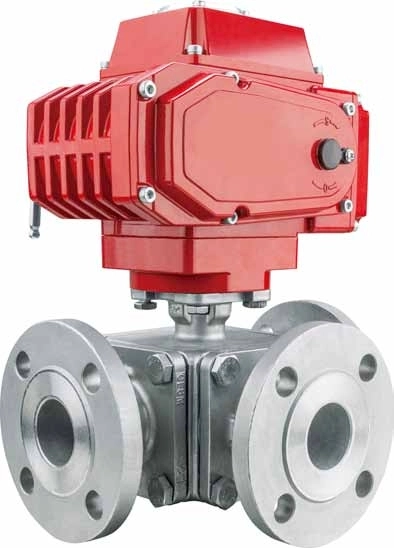
When reliability matters, turn to Miwival. It’s a trusted name in flow control. As a dedicated supplier of valves and automation solutions, Miwival delivers one-stop services. They keep a sharp eye on quality, cost, and on-time delivery. Their ball valves—from compact threaded models to robust flanged three-piece units—feature precision engineering. This includes pressure-energized packing and secondary graphite seals. They deliver zero-leak performance. Even in demanding setups. Backed by ISO 9001 certification and rigorous pressure testing, Miwival’s products ensure long-term peace of mind. This holds whether you’re handling everyday plumbing or industrial isolation. With a mission to make valves and automation safer for the world, their expert team stands ready. They’ll match the right valve to your flow challenges.
Wrapping It Up: Take Control of Your Flow Today
Leaky ball valves don’t have to disrupt your day. With a methodical approach, you can spot the issue. Gather tools. And follow these steps. That way, you restore tight seals. You also avoid bigger headaches down the line. Remember, a little proactive care goes further than reactive patches. Grab that wrench. Tackle the drip. And enjoy the quiet satisfaction of a system running smooth. Your pipes will thank you. So will your wallet.
Frequently Asked Questions
How do I know if my ball valve needs a full fix for a leaking issue?
Spot steady drips or pressure loss even when closed. If tightening the packing doesn’t stop it, dive into disassembly. It’s often worn seats. As covered in our step-by-step troubleshooting guide.
Can I fix a leaking ball valve without replacing the whole thing?
Absolutely. Especially with three-piece designs. Just swap seats and packing. It saves time. It also keeps your setup intact. Just like the quick repairs in this guide.
What causes most ball valve leaks, and how can I prevent them?
Debris and wear top the list. Regular cycling and cleaning cut risks. Follow the prevention tips here. They’ll keep things drip-free longer.
Is it safe to fix a leaking ball valve on my own?
For low-pressure home lines, yes. Use proper shutdowns and tools. But in high-stakes industrial spots, call a pro. That avoids hazards.
How long does it take to fix a leaking ball valve using this guide?
Most jobs wrap in under two hours. Test thoroughly afterward. You’ll have a reliable shutoff ready for action.


 consult
 WHATSAPP
 leave message
 top
top